English
  Deutsch
  Español
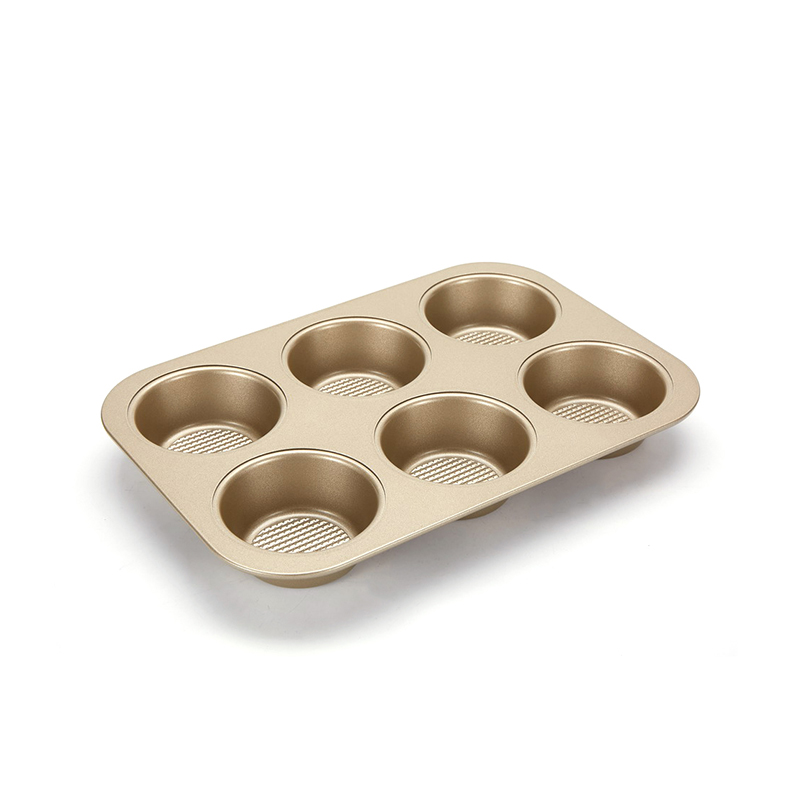
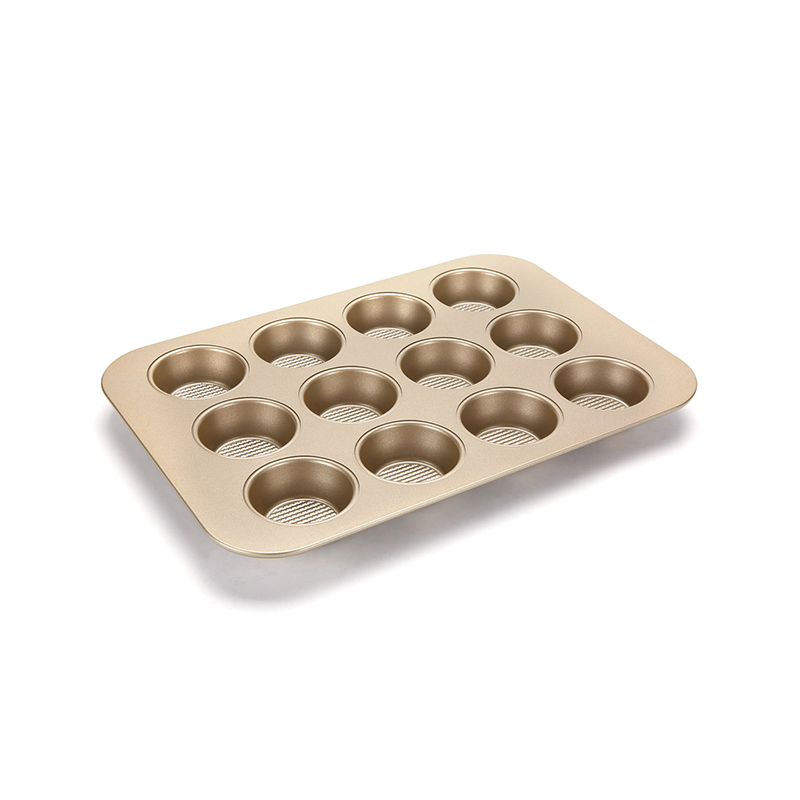
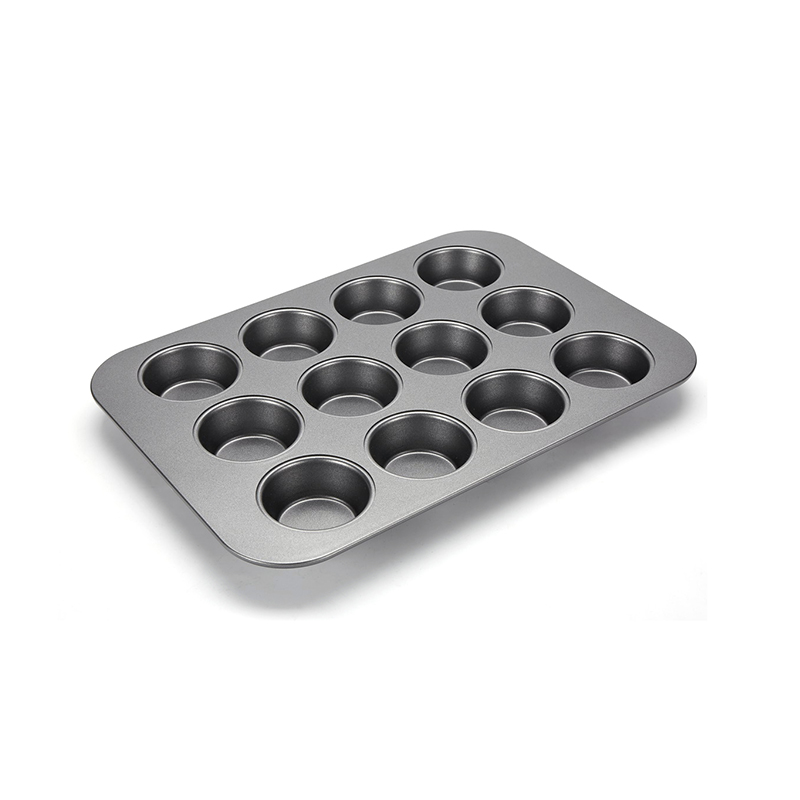
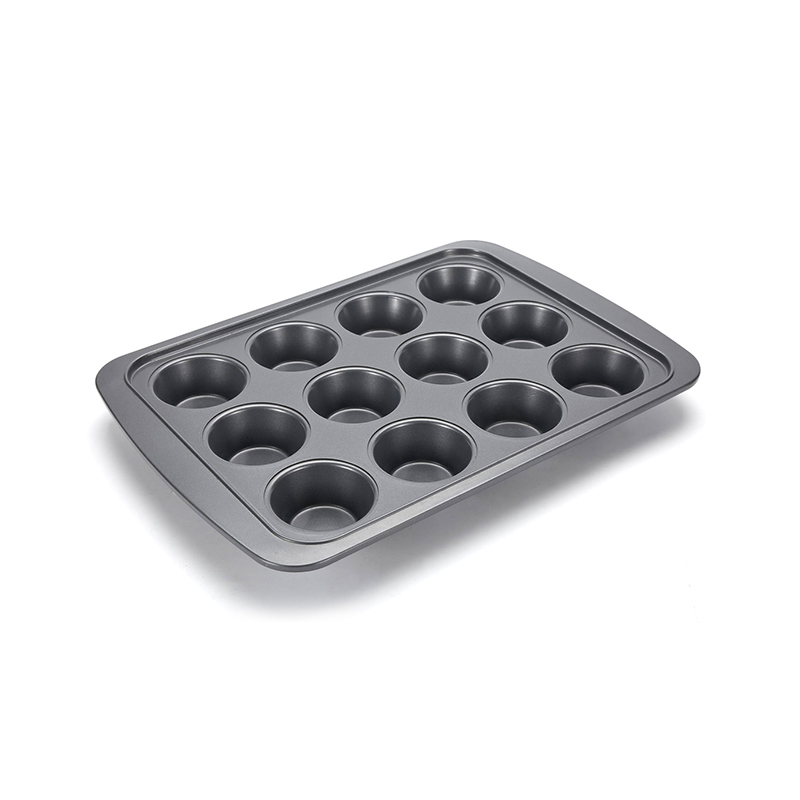
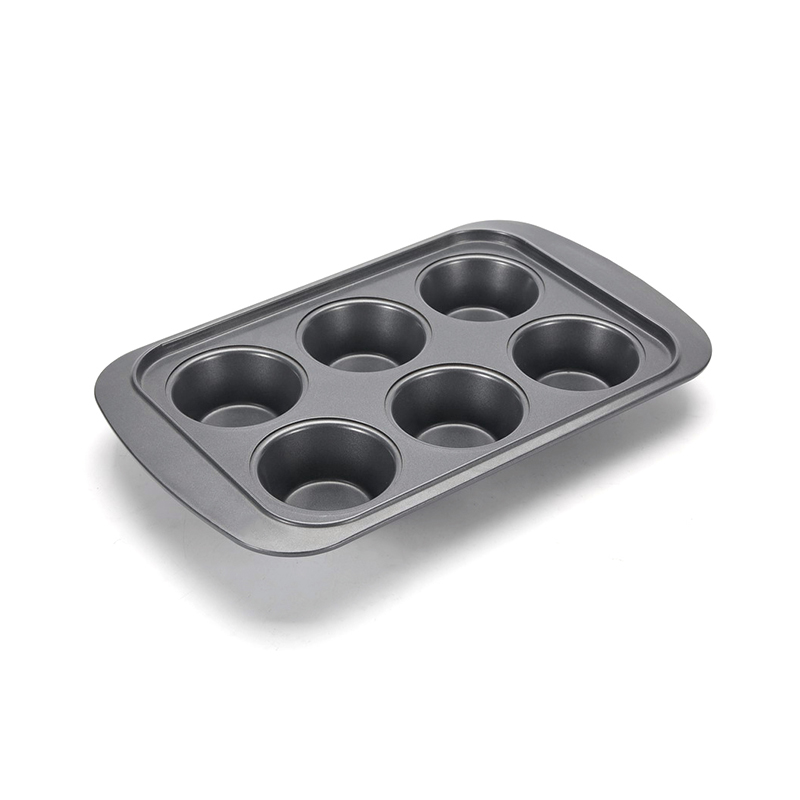
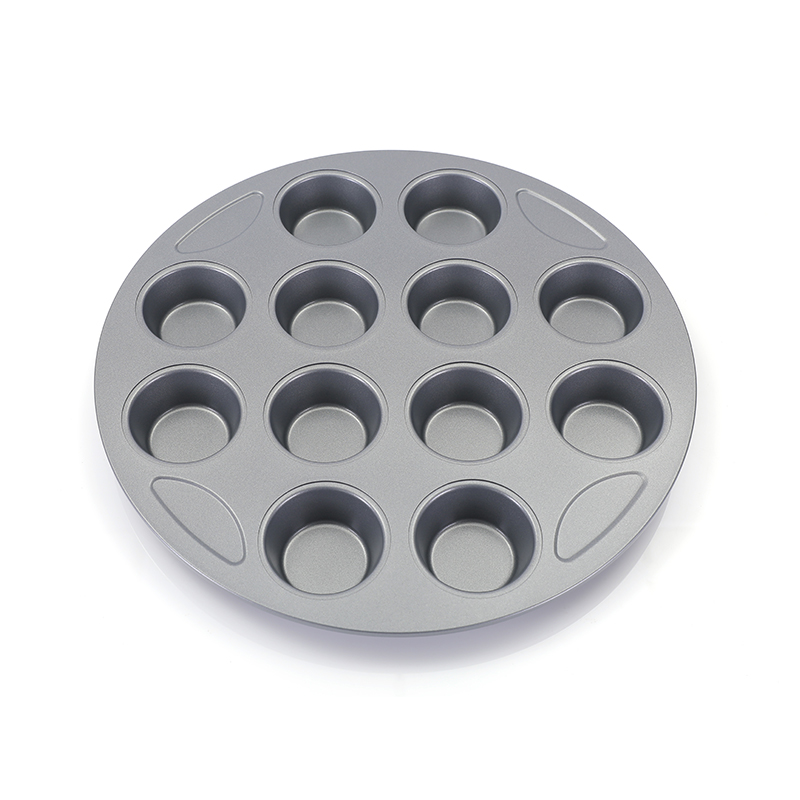
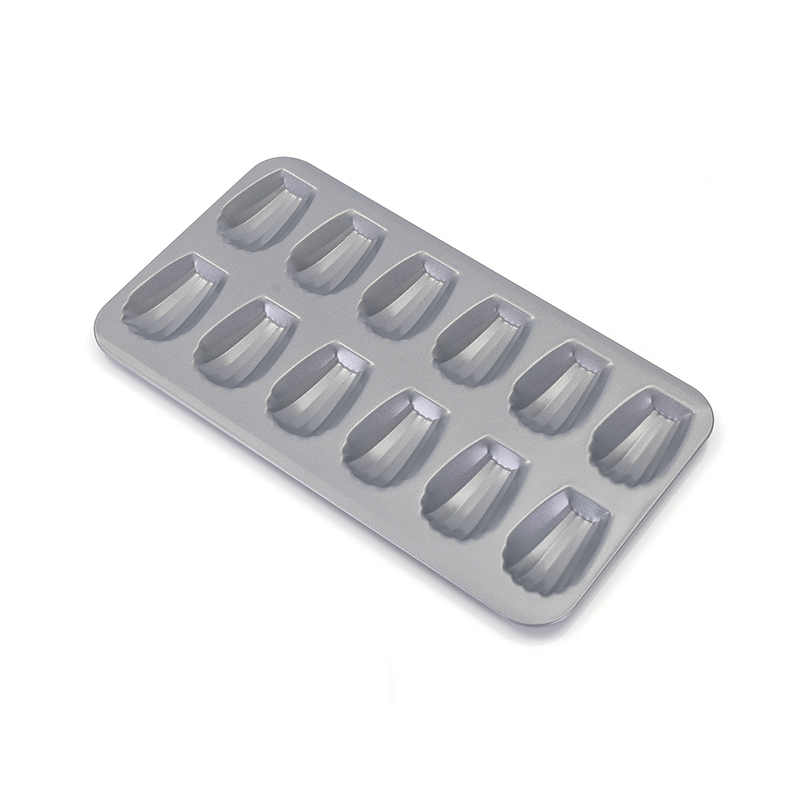
 Baking muffins is a joyful experience for many, but removing them cleanly from the pan? That's where things can get tricky. Whether you're using a mini cake muffin pan, a standard muffin baking pan, or one of the many varieties of mini muffin baking pans available, proper greasing is the key to ensuring your baked goods release effortlessly. A well-greased pan not only guarantees a good shape but also saves time and frustration when cleaning up.
Let's begin by understanding why greasing is so essential. The batter used for muffins is often rich and moist, making it prone to sticking. This is especially true when working with intricate molds like a mini cake muffin pan or deep mini muffin baking pans. If the batter clings to the surface, you might end up with broken muffins or unattractive bottoms—definitely not ideal if presentation matters.
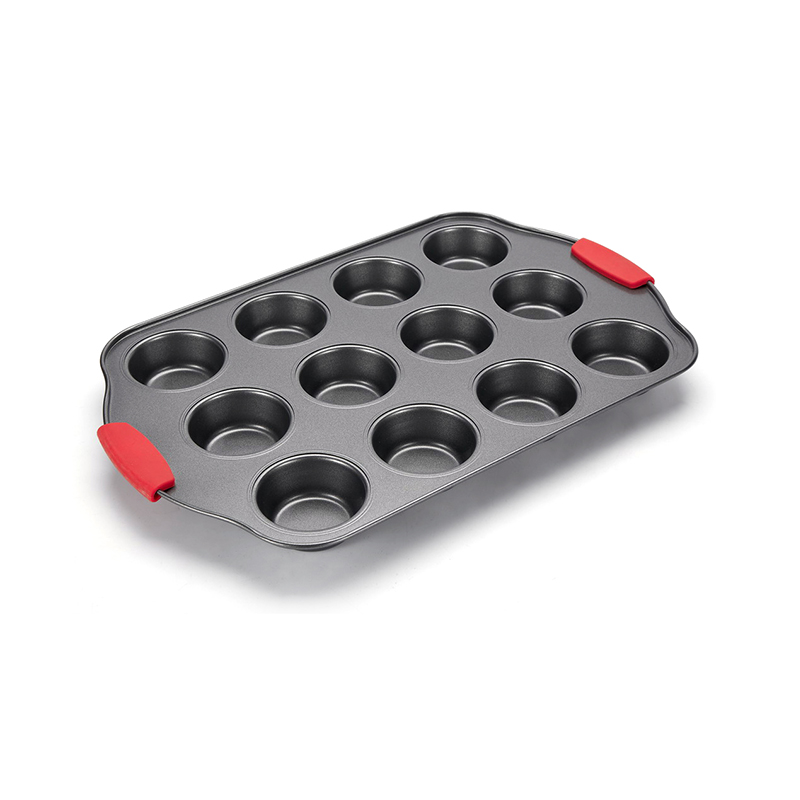
When it comes to choosing how to grease your muffin baking pan, there are a few effective options. traditional method involves using butter or shortening. With this approach, use a pastry brush or even your fingers to coat the insides of each cavity in the mini cake muffin pan. Be thorough—ensure the bottom and all sides are evenly covered. Then, dust each greased section with a light layer of flour and tap out any excess. This old-school method works particularly well for mini muffin baking pans where surface area is small and detail matters.
Another popular method is using oil-based sprays. Non-stick baking sprays are a go-to for many modern bakers because they're quick and effective. Just be sure to choose a spray designed specifically for baking. Some sprays contain flour, which enhances non-stick performance—especially in a mini cake muffin pan with detailed molds. Spray evenly and avoid overcoating, as excess spray can leave an unpleasant residue or affect the muffin's texture.
Silicone brushes also come in handy when you want more control over the greasing process. Use a high-heat cooking oil such as canola or vegetable oil and gently brush each cavity in your muffin baking pan. This method gives you a smooth, even coat without any buildup. It's particularly useful when working with mini muffin baking pans, where precision can help preserve the muffin's delicate shape.
If you frequently bake with mini cake muffin pans, consider using reusable silicone liners or parchment paper circles. While this doesn't replace greasing entirely, it offers an extra layer of security, especially with sticky or sugary batters. However, always apply a light layer of grease even when using liners—this ensures they peel away easily and keeps the muffins from sticking to the liner itself.
Timing also plays a role in how effective your greasing is. Don't grease your muffin baking pan too far in advance. If you do, the grease may slide down or pool at the bottom, leaving the sides uncoated. Instead, grease the mini muffin baking pans just before pouring in your batter to ensure full coverage.
After baking, let your muffins cool for about 5 to 10 minutes in the pan. This brief rest helps the muffins firm up slightly and shrink away from the sides, making release easier. Then, gently twist each muffin in its cavity before lifting it out. For stubborn muffins, use a plastic or silicone spatula to avoid scratching your mini cake muffin pan.
Don't forget to clean your muffin baking pan thoroughly after each use. Leftover crumbs or oil can build up and cause sticking over time, even with proper greasing. Wash your mini muffin baking pans with warm water and a non-abrasive sponge to keep them in top condition.
Whether you're baking classic blueberry muffins or mini chocolate delights, properly greasing your mini cake muffin pan, muffin baking pan, or mini muffin baking pans makes all the difference. With the right tools and a bit of attention to detail, you'll enjoy goodly released muffins every time—no tearing, no sticking, and no mess.